
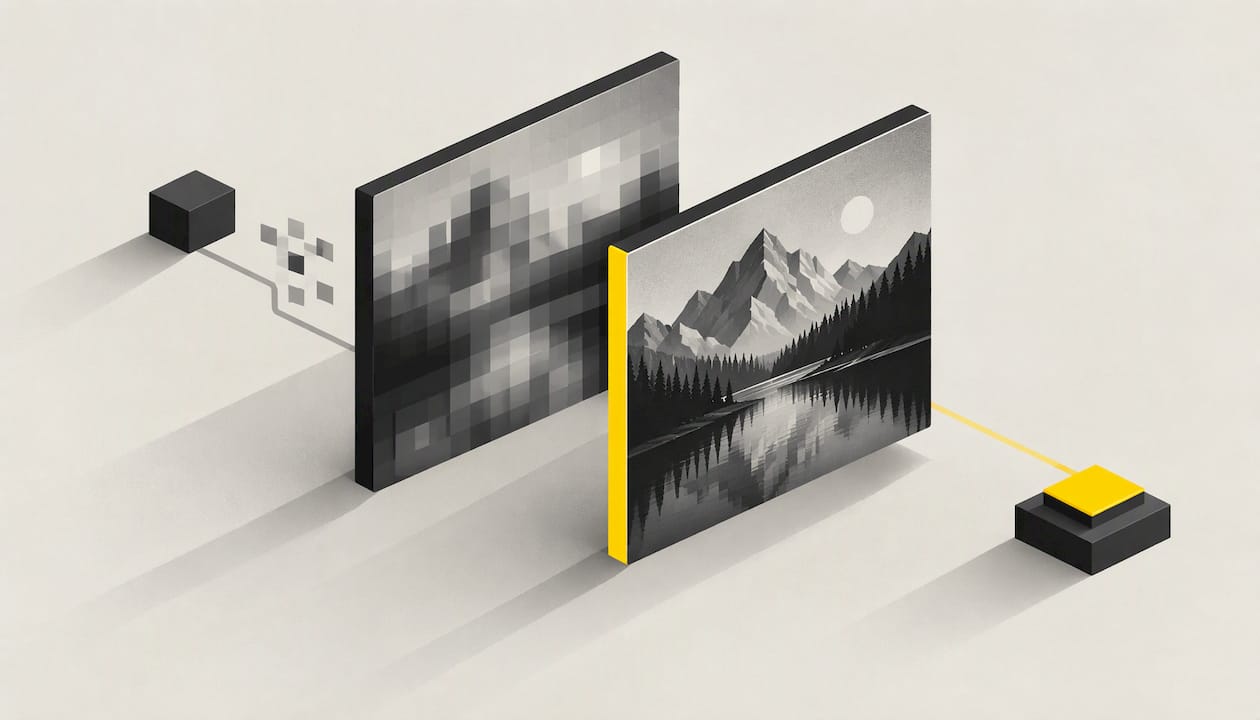
To sharpen a blurry image, work out first what kind of blur you have. Then pick the matching fix: a sharpening filter for soft photos, resizing or upscaling for pixelated ones, and a high-resolution rescan for scanned prints. Do it on your own PC and your photos never leave it. ConvertFlow, our Windows app, sharpens, reduces noise, improves color and upscales images locally, for a one-time $3.99.
The rest of this guide explains how to tell the problems apart, how to sharpen without ugly halos, and what to do about pixelation and old scans.
TL;DR
- Sharpening adds contrast along edges. It makes a slightly soft photo look crisper, but it cannot rebuild detail that was never captured.
- Sharpen last, zoom to 100% to judge the result, and keep the amount and radius modest to avoid halos and noise.
- Pixelation comes from enlarging or compressing an image. Resize to the size you actually need, or upscale, instead of stretching the file.
- For scanned photos, rescan at a high resolution and keep an untouched lossless master before you edit.
- ConvertFlow does sharpening, noise reduction, color improvement and upscaling on your Windows PC, offline, with no uploads, accounts or subscription.
Table of Contents
- First, identify what kind of blur you have
- What sharpening actually does (and what it can't do)
- How to sharpen an image without halos or noise
- Fixing pixelated images
- Sharpening scanned photos
- Why privacy matters when you sharpen images
- Doing it in ConvertFlow
- A worked example: rescuing a soft vacation photo
- Common mistakes to avoid
- Choosing your output format
- FAQ
- Sources
First, identify what kind of blur you have
"Blurry" covers at least four different problems, and each has a different fix. Spending thirty seconds on the diagnosis saves you from over-processing the wrong thing.
| What you see | Likely cause | Best fix |
|---|---|---|
| Edges look slightly soft, but detail is there | Normal lens and sensor softness, or mild resizing | Sharpening |
| Visible square blocks or jagged stair-steps | Image enlarged beyond its size, or heavy compression | Resize to the right size, or upscale |
| Grainy speckle, especially in shadows | High ISO or low light | Noise reduction first, then gentle sharpening |
| Whole subject smeared in one direction, or entirely out of focus | Camera shake or missed focus | Sharpen lightly for a small gain; reshoot if you can |
| A scan that looks flat and fuzzy | Low scan resolution or a dusty, faded print | Rescan at higher resolution, then enhance |
Digital camera sensors and lenses soften images slightly as a matter of course, which is why sharpening is a standard step in photo editing. If your photo is merely soft, you are in the easy case.
What sharpening actually does (and what it can't do)
Sharpening does not add detail. It increases contrast along edges, so the dark side of an edge gets a little darker and the light side a little lighter. Your eye reads that as crispness.
That is why it works well on a photo that is a bit soft and poorly on one that is truly out of focus. In an out-of-focus shot, the edges themselves are smeared across many pixels, so there is no clean edge to strengthen. Push the slider anyway and you amplify the smear, along with noise and compression artifacts.
The practical rule: sharpening rescues photos that are 80 percent there. If the subject is recognizable and the edges are soft, expect a good result. If you cannot tell where an eyelash or a letter ends, expect a modest improvement at best, and keep your expectations realistic so you stop at a natural look.

How to sharpen an image without halos or noise
Bad sharpening is easy to spot: bright or dark outlines around objects, crunchy textures, and grain that suddenly looks coarse. Over-sharpening produces halos and brittle textures when the amount or radius is too high for the content. Here is a routine that avoids that.
1. Start from the best source file
Work from the original, not a copy that has been shared through a messaging app or saved several times as a JPEG. Every re-save throws away a little detail, and sharpening makes those compression blocks more visible. If you have the original camera file, use that.
2. Reduce noise before you sharpen
Sharpening treats noise as detail and boosts it. If your image is grainy, reduce the noise first, then sharpen. Doing it in the other order bakes the grain in. In ConvertFlow, noise reduction and sharpening are both part of the enhancement tools, so you can handle the pair in one place.
3. Fix the size first, sharpen last
Resizing softens an image a little. So crop and resize to your final dimensions, then apply sharpening as the last step. Sharpening a large image and then shrinking it wastes the effort, because the shrink changes how the edges look.
4. Judge at 100% zoom
A full-screen preview on a small monitor hides problems. A sound workflow is to inspect the image at 100% zoom, where each image pixel maps to one screen pixel. At that scale you can see whether edges are crisper or whether halos and noise are creeping in.
5. Keep the amount and radius modest
Two controls matter in almost every sharpening tool:
- Amount (strength): how much contrast is added at edges.
- Radius: how wide a band around each edge is affected.
Small, conservative settings on both avoid visible halos. A high radius on a small image is the classic cause of glowing outlines. Raise the settings gradually until the edges look right, then back off a notch. If you can see the sharpening, it is too much.
6. Protect smooth areas
Skin, sky and out-of-focus backgrounds have no real edges, so sharpening only turns their noise into texture. Experienced editors use masking to keep flat areas out of the sharpening and apply it only where there is genuine edge detail.
7. Sharpen for where the image will be used
A photo for a phone screen, a website and a large print need different treatment. Screens usually want less sharpening than prints, and an image shown small needs less than one shown large. Save a separate output for each use rather than one over-sharpened file for everything.
Fixing pixelated images
Pixelation looks different from blur. Instead of soft edges you see blocks or jagged steps. It has two common causes, and PCWorld's guide to resizing images describes both: enlarging an image stretches the original data, which makes it pixelated and blurred, while compression removes detail to shrink the file.
That tells you where to look.
If the image was enlarged: go back to the original and resize from that, rather than stretching an already small copy. Save images at a resolution that matches the intended use. A 600-pixel-wide thumbnail will never look right on a full-screen slide, no matter how much you sharpen it.
If the image was over-compressed: find a less compressed version. A thumbnail saved at low JPEG quality has already lost its fine detail.
If you only have the small version: upscaling is the realistic route. An upscaler adds pixels and smooths the stair-steps so a small image holds up better at a larger size. ConvertFlow includes image upscaling, so you can enlarge a low-resolution picture on your PC and then apply light sharpening afterward. Set expectations sensibly: upscaling makes a small image look cleaner at a bigger size, and the best results come from sources that were reasonably clear to begin with.
A simple order of operations for a pixelated image:
- Locate the largest, least compressed version.
- Upscale to the size you need, if the original is too small.
- Reduce any noise or compression speckle.
- Apply gentle sharpening at 100% zoom.
- Export in the right format for the use.
Sharpening scanned photos
Scanned prints are a special case, because the scan itself is often the weak link. If your scanner was set to a low resolution, no amount of sharpening will recover the lost detail.
The Library of Congress documents how it digitizes photographs: its architectural photo masters are saved as uncompressed TIFF files, 8 bits per pixel for black-and-white images and 24 bits per pixel for color. You don't need archival standards for family snapshots, but the principle carries over directly.
- Scan at a high resolution. Many home scanners offer 600 to 1,200 dpi (dots per inch, a measure of how finely the scanner samples the print). The higher resolution gives you more to work with when you sharpen or enlarge.
- Save an untouched master. Store the first scan as a lossless file such as TIFF, and never edit that file. Make copies for sharpening and sharing.
- Clean the print and the glass. Dust and fingerprints show up as specks that sharpening makes worse.
- Remove dust and scratches before enhancing. Fix specks first, then reduce noise, then sharpen.
- Enhance color gently. Old prints fade. Improving color and contrast often makes a scan look sharper than the sharpening does.
For family photos, legal papers or anything private, keep the whole workflow offline. Local processing means a scan of your parents' wedding photo or a signed document is never copied to a remote server.
Why privacy matters when you sharpen images
Most quick-fix sharpeners work by uploading your image to a website, processing it on someone else's computer and sending it back. For a holiday snapshot that may not bother you. For photos of children, ID documents, medical records, client work or unreleased creative projects, it is a different decision.
Local tools remove the question. When processing happens on your own machine, on-device AI avoids the cloud transfer entirely, which is the main privacy advantage for sensitive material. Uploads also tend to come with file size caps, queues and account sign-ups, which add friction when you have a folder of 300 images.

Doing it in ConvertFlow
ConvertFlow is a Windows app that converts, compresses and enhances video, audio and image files on your own PC. For blurry and pixelated pictures, the tools you need are in one place: sharpening, noise reduction, color improvement and image upscaling, with full control over codec, resolution and bitrate when you export.
A few facts that matter for this job:
- Everything runs locally and offline. Your files are not uploaded, so private photos stay private.
- No file size limits, no accounts. Large scans and high-resolution camera files work the same as small ones.
- Batch processing. If you have a whole library of soft photos or a stack of scans, you can handle them together instead of one at a time.
- FFmpeg engine with GPU acceleration. The app is built on the widely used FFmpeg engine and uses your graphics card for speed.
- Over 20 formats. You can open common image formats and export in the one you need, for example converting a lossless master into a web-friendly file after you have finished enhancing.
It costs a one-time $3.99 with no subscription. You can see the details on the ConvertFlow pricing page, and the free online converter there is a quick way to try basic conversions before you decide on the full Windows app.

If you want to get started, download ConvertFlow for Windows and run your first image through the enhancement tools.
A worked example: rescuing a soft vacation photo
Say you have a 4,000-pixel-wide photo from a trip. It looks a little soft at full size, and there is visible grain in the shadows under a tree.
- Check the source. It is the original camera file, so you are starting with the most detail available.
- Reduce noise. A light pass cleans up the shadows without smoothing the faces.
- Resize if needed. You want a 2,000-pixel version for sharing online, so you export that size first.
- Sharpen the smaller file. At 100% zoom you raise the amount until the edges of leaves and eyes look crisp, then drop it a notch when a faint outline appears around the branches.
- Export. You save a copy for the web and keep the original untouched.
The whole job takes a few minutes, and the original is still there if you ever want a different version.
Now take the same photo, but pixelated: it is a 500-pixel image that someone sent you. Sharpening alone will make the blocks more obvious. Upscale first to the size you need, then smooth out leftover speckle with noise reduction, then add only a touch of sharpening. The goal is a cleaner picture at a larger size, not a miracle.
Common mistakes to avoid
- Sharpening twice. Many cameras and phones already sharpen JPEGs. Check the picture at 100% before adding more.
- Sharpening before resizing. The resize undoes part of the work. Resize, then sharpen.
- Pushing one slider to the maximum. Several small adjustments look more natural than one large one.
- Editing your only copy. Always keep the original file, especially for scans.
- Judging on a zoomed-out view. Halos and noise are invisible until you look at 100%.
- Saving repeatedly as JPEG. Each save loses a little detail. Do your edits, then export once.
- Sharpening noise. If the picture is grainy, clean it first.
Choosing your output format
After you have enhanced a file, the format you export matters too. Use a lossless format such as TIFF or PNG for masters and anything you plan to edit again. Use JPEG for photos you will share or put online, at a quality setting high enough that compression blocks do not appear. Because ConvertFlow converts among over 20 formats and gives you control over resolution, you can produce each version from the same enhanced file in one session.
FAQ
Can you sharpen a blurry image to make it fully clear?
Sharpening works best on images that are slightly soft, where the edges are present but weak. It increases edge contrast, so the picture looks crisper. For images that are heavily smeared or out of focus, the improvement is smaller, and the best fix is a better source file or a new shot.
How do I fix a pixelated image?
First find out why it is pixelated. If it was enlarged too far, go back to the original and resize from that. If it was compressed too hard, look for a less compressed version. If only the small copy exists, upscale it to the size you need, reduce speckle, and add light sharpening.
How do I sharpen a photo without making it look fake?
Sharpen as the last step, view the image at 100% zoom, and keep the amount and radius low. Protect smooth areas such as skin and sky, and stop as soon as you notice outlines around objects. A natural result looks crisp without looking processed.
What is the best way to improve a scanned photo?
Rescan at a high resolution, such as 600 to 1,200 dpi, and save the first scan as an untouched lossless master. Then edit a copy: clean up dust, reduce noise, improve color and finish with gentle sharpening.
Is it safe to sharpen private photos?
It is safest when the processing happens on your own computer, because the files are never sent anywhere. ConvertFlow runs offline on Windows, so personal photos, scans and client images stay on your PC.
Sources
- Guide to image sharpening, Cambridge in Colour
- How to sharpen photos without halos, noise or harsh detail
- How to resize an image without losing quality, PCWorld
- Digitizing photographs, Library of Congress
- Local AI upscaling for old photos with privacy, WindowsForum